LOCKED DEVICES
with ADB access, but without debugging

Where is the problem?
We often find devices on the market that have the ability to run ADB, but not debug. This means that it is not possible for a developer to work on it easily. You can check the problem with this command:
adb shell getprop ro.secure
it should return 1 as output.
To solve this problem you should edit the "default.prop" file in the "boot" partition, in this way:
ro.secure=0
ro.debuggable=1
persist.service.adb.enable=1
"ro.secure=0" allows you the permissions, "ro.debuggable=1" allows you to debug and "persist.service.adb.enable=1" is needed to enable adb. Everything seems easy, except that you must have root access first. Unforuntately without mount/remount/root it's difficult to do this. Learn more:
How to enable a simple "adb shell" on some devices
In some devices "persist.service.adb.enable=1" already exists, but it becomes useless without "ro.secure=0" and "ro.debuggable=1".
There are two known ways to get ADB shell on some locked devices:
1. just dial the secret code *#*#33284#*#*, a bug icon should appear in the taskbar
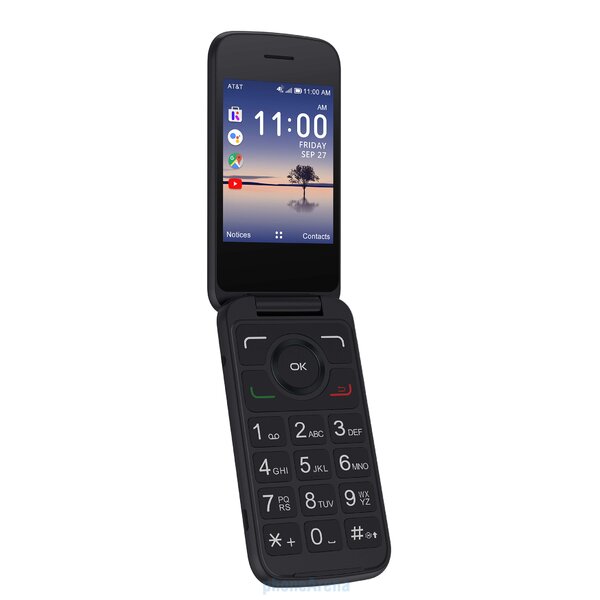
this code normally allows you to use debugging on other normal devices, but not for these. As you can see, almost all Alcatels sold in the United States have this same problem (with the exception of some other variants of Alcatel OT-4044);
2. Sometimes getting ADB access is possible by starting the device in a different mode than normal, when it is turned off. We see this unusual behavior in Doro 7060 (Europe), Doro 7070 (Sweden) and Doro 7050 (USA) where by pressing the "VolumeDown + Power" buttons, the phone will start in FFBM, and from there its also possible to boot the phone with the command adb shell start b2g.
Normally we have to connect the phone to any Devevelopment Tool with the command "adb forward tcp:6000 localfilesystem:/data/local/debugger-socket" but ADB is "unauthorized".
However, it is possible to test the site W2D.bananahackers.net to enable debugging, or alternativelly using flash tools (being many of them Qualcomm-based, it will be possible to use the EDL mode), once you have the correct firehose or firmware files. Learn more:
Searches that everyone can do on a locked phone
In this guide I will show you how to use some simple ADB commands in detail to perform searches like secret codes, run scripts locally or explore the device without root permissions, where possible.
Explore your phone and discover its structure
Where read-only can be accessed we can explore the device, particularly in the system partition, using the "ls" command. To know the basic commands available on the system, we can type the command:
adb shell ls /system/bin
all the files listed in /bin correspond to the commands available in the normal shell.
Download folders and files from /system and find secret codes
Often the pull command works to extract single files or even a complete folder (unless it contains some files with special permissions). The files will be downloaded in alphabetical order.
To get the folder containing all the pre-installed applications:
adb pull /system/b2g/webapps
Now you can start a thorough search to find all possible information, such as secret codes.
The "grep" command is used to search for terms and combinations of symbols (which can be replaced with numbers and letters):
1. Now that you've downloaded the "webapps" folder, extract all the application.zip files contained in the sub-folders:
for f in $(find . -type d); do unzip $f/application.zip -d $f/app/; done
in this way all the content of the application.zip files will be extracted into several new folders named "app".
2. Run the search filter, here for example there are the various correspondences to the sequences between # and * and the numbers from 0 to 9:
grep -EIro '[*#]+[0-9]+#[*#]*' .
if you want you can configure this command using different terms, for example:
grep -EIro 'debug' .
this will list all the files containing the word "debug", but this is just an example.
3. Read inside the file of each path the functions of those codes extracted. Be careful not to type in the codes right away, you may have unwanted effects on your device.
Use busybox to extract as many system files as possible
Busybox is a very important binary file within Linux systems, as it allows you to perform all possible actions with root privileges, that's why many manufacturers remove it from their devices. It is usually found in /system/bin, but if it is removed you can take advantage of it from the busybox official website (you can also rename it to made it easier to use, for example "busybox-armv7l" become "busybox") from a more accessible path for a common user:
adb push busybox /data/local/tmp
adb shell
cd /data/local/tmp
chmod +x busybox
./busybox
The shell will respond by showing all commands available in busybox. You can repeat the same operation with any file or folder you wish to insert in "tmp". Note that to use any file from /data/local/tmp or in any other path, you must always add "./" if the shell starts from there (we used cd /data/local/tmp for convenience).
After placing "busybox" in /data/local/tmp and enabling local permissions, you can extract a copy of many system files to a .tar archive on the SD card with the command:
./busybox tar -cvf /sdcard/system.tar /system
now you can study many more things about the system.
Learn about root scripts (if them still work)
In the past on the Nokia 8110 4G to run a root shell we needed to use scripts to insert in /data/local/tmp using a link from the internal browser app, and thanks to a security bug of the 8110 firmware versions prior to 14 (never released in the West perhaps for this reason) and solved with firmware updates 15 and 16 (learn more about navigator.kaiosExtension).
Obviously nowadays these scripts are useless if you want to use them to get root privileges on a newer phone (KaiOS 2.5.1 and above), but it is always possible to modify them for different purposes, in order to learn and discover new ways of use.
Here are what the scripts were and how they worked:
tnroot (video) uses busybox over telnet, then after the installation you need to perform the command busybox telnet localhost to get the root shell;
adbroot is more direct, because you can use a root shell directly after adb shell.
Download one between tnroot or adbroot, in the following example replace the word "SCRIPT" with one between them:
1) perform the commands
adb push SCRIPT /data/local/tmp
adb shell
cd /data/local/tmp
chmod +x SCRIPT
./SCRIPT
2) open the following url in phone's browser: http://localhost:8080
3) click the button on the phone's browser to confirm (for adbroot this will close "adb shell");
4) perform the command:
For adbroot you have to re-open adb shell;
For tnroot, that doesn't close the shell, just perform busybox telnet localhost

